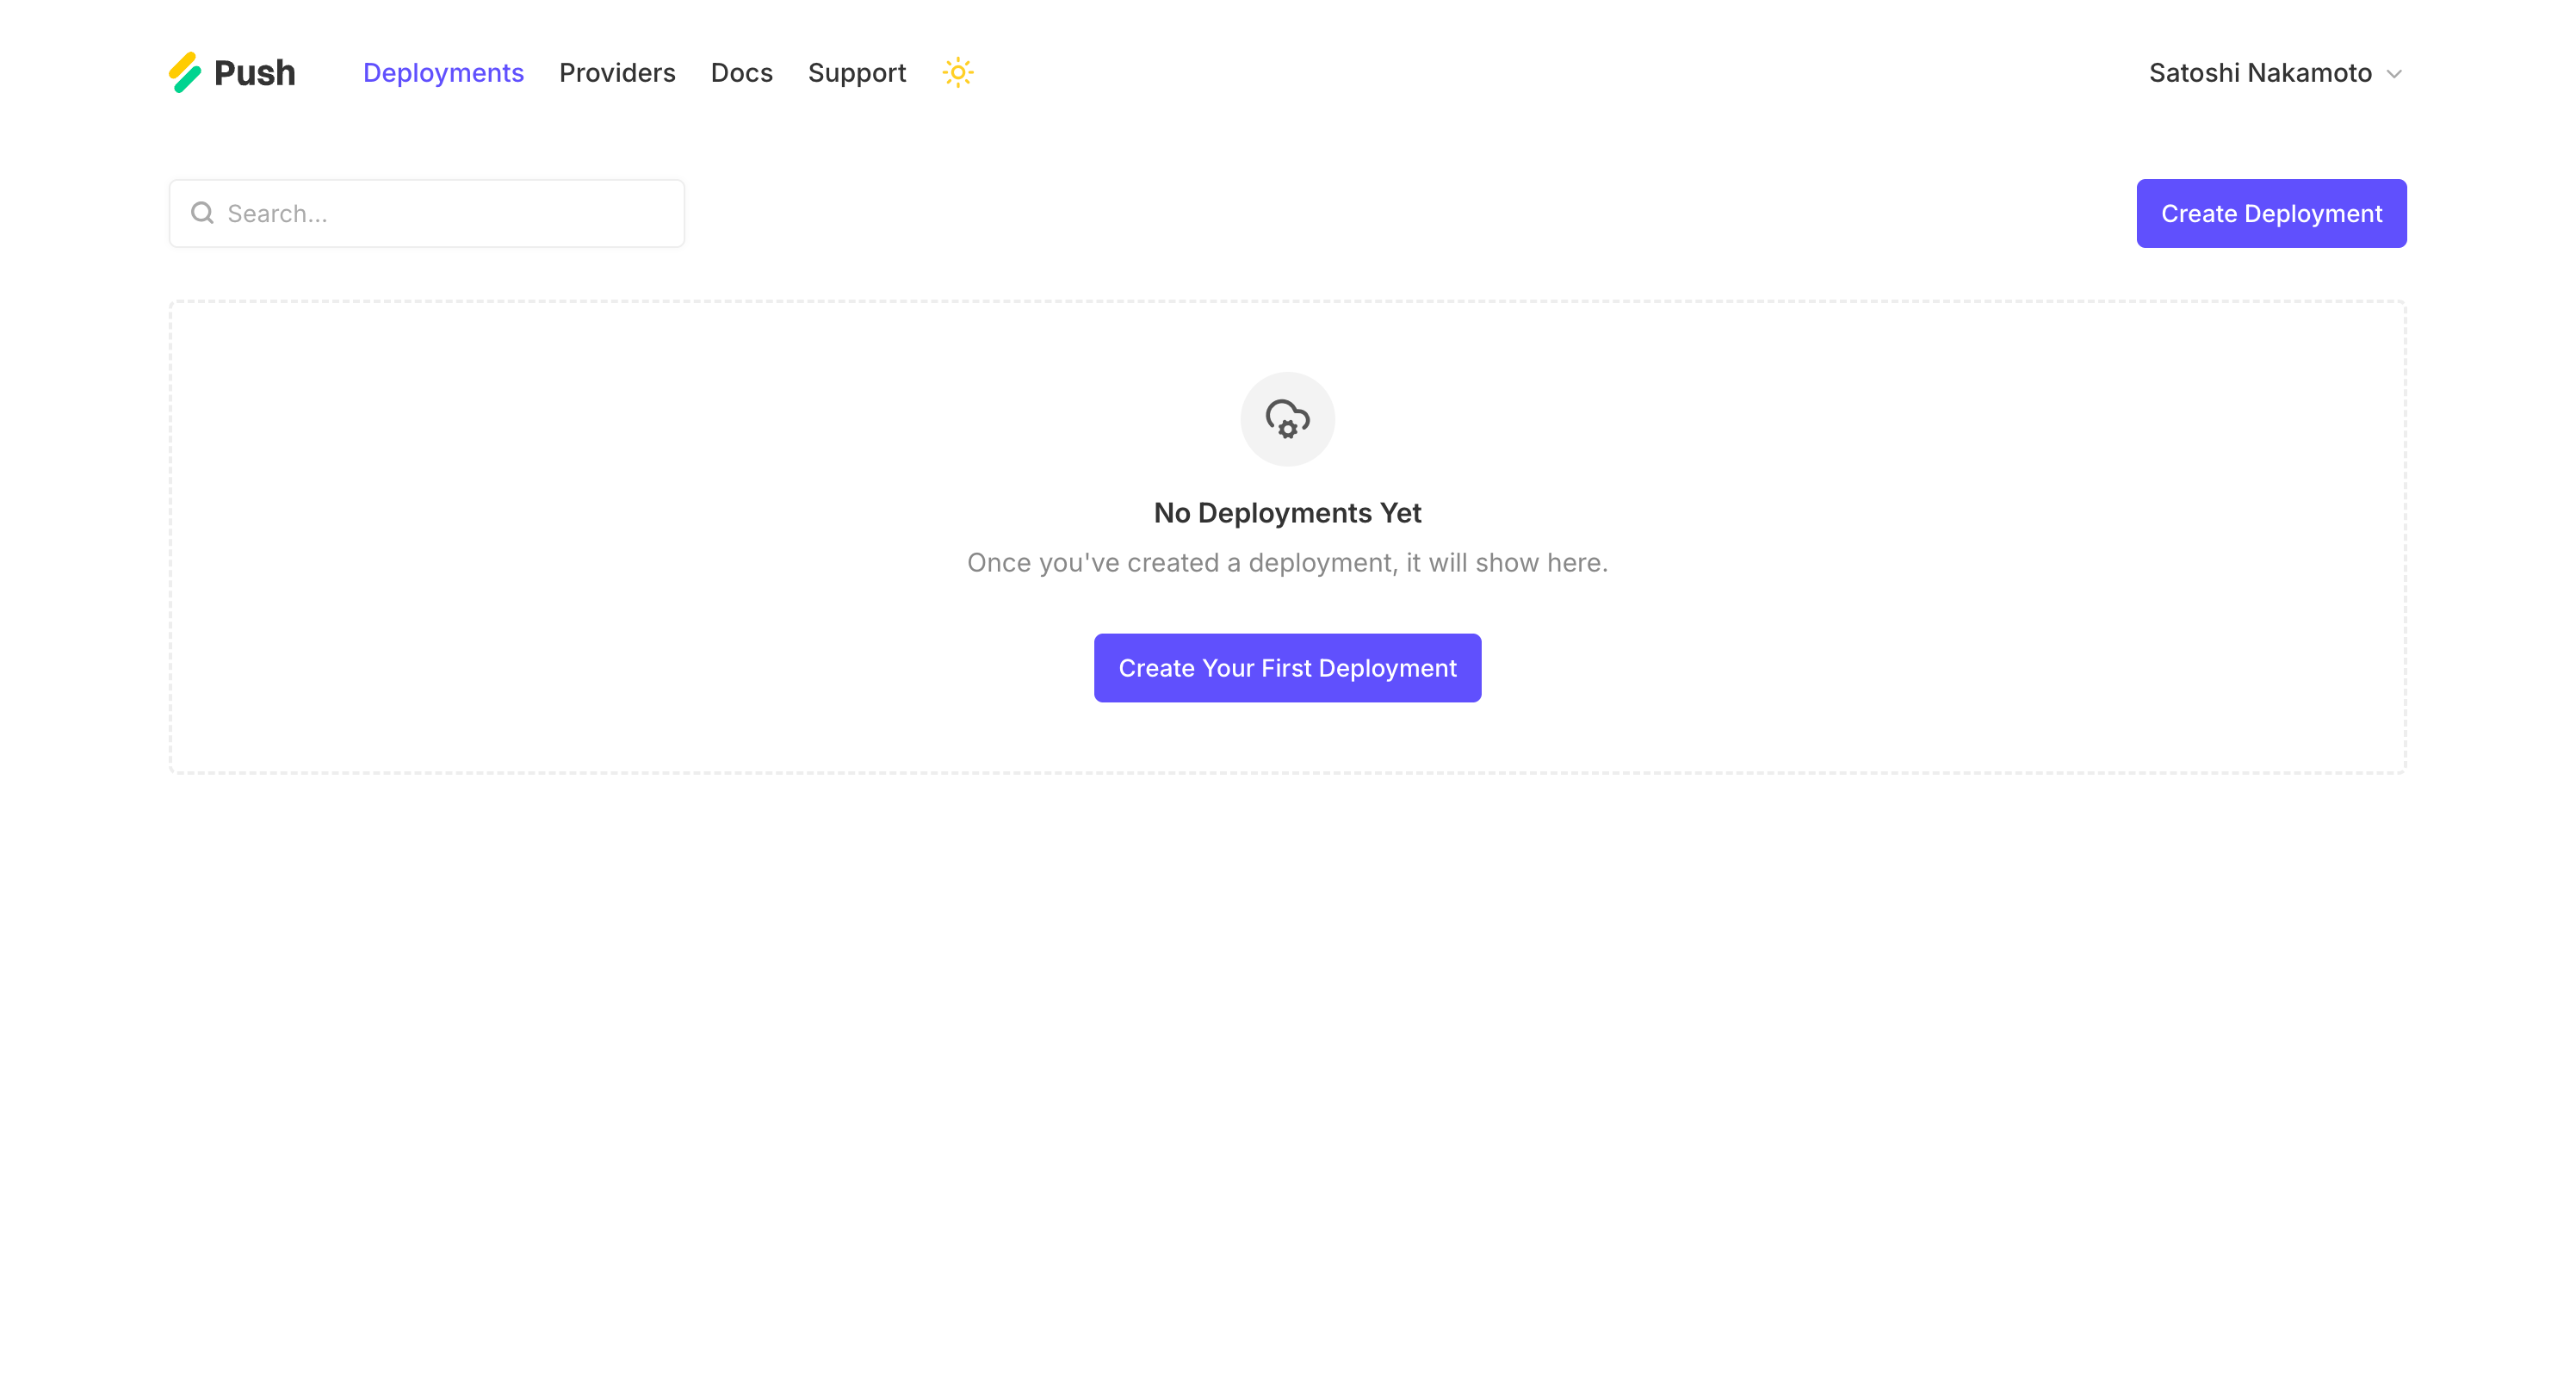
To create a new deployment, navigate to the /deployments page in the Push dashboard and click the "Create Deployment" button in the top-right corner.
On the next page, you'll be presented with a form where you can configure your deployment. You will need to make the following choices:
- Your app's domain. This should be the domain name without the protocol (e.g., myapp.com and not https://myapp.com).
- Your deployment's environment. Typically this will be
production, however, you can also change this tostagingto set up a non-user facing deployment for testing purposes. - The deployment type. Select "Standalone" to deploy your app as a single instance, or, "Load Balanced" to deploy your app as a one or more region-fixed clusters containing a load balancer instance and two or more app instances.
- Your deployment's provider. Select the provider where your deployment's instance(s) will live.
Standalone Deployments
If you're creating a standalone deployment, you will select the instance region and size on your selected provider that you'd like to use.
Load Balanced Deployments
If you're creating a load balanced deployment, you will create one or more clusters in a given region on your selected provider. For each cluster, you'll select a size for your load balancer and a size for your app instances (as well as a quantity of app instances if you want to provision more than two).
A good strategy is to start with 1-2 clusters in regions on the continent where you expect most of your traffic to originate from. As your app grows, you can add additional clusters to support customers internationally, or, boost resiliency of your app.
For example, if you expect your initial traffic to come from the U.S., you could set up one cluster in the New York 1 region and another in the San Francisco 2 region. This would make it so that if either of those regions had outages (e.g., New York 1 goes down for maintenace), the other cluster/region would pick up traffic and ensure your app stays up.
Note: While you can create multiple clusters in the same region, it's not recommended. Instead, it's recommended that you create one cluster per region to ensure that your app stays up even if one of your provider's regions goes down (e.g., due to maintenance or outages).
If you're serving international customers, you could set up your two U.S. clusters and add additional clusters in the countries you'd like to support. For eaxmple, if I wanted to handle traffic from Europe and Asia, I could set up clusters in Frankfurt 1 and Signapore 1.
Keep in mind: creating clusters in a given region doesn't automatically route traffic from those regions to your cluster's instances. Routing of traffic is determined by your DNS settings.
What's next
Once you've got your deployment's configuration set up, click "Create Deployment" to continue. When you do, your deployment's subscription will be started and you'll be redirected to the deployment set up page to complete the deployment process.
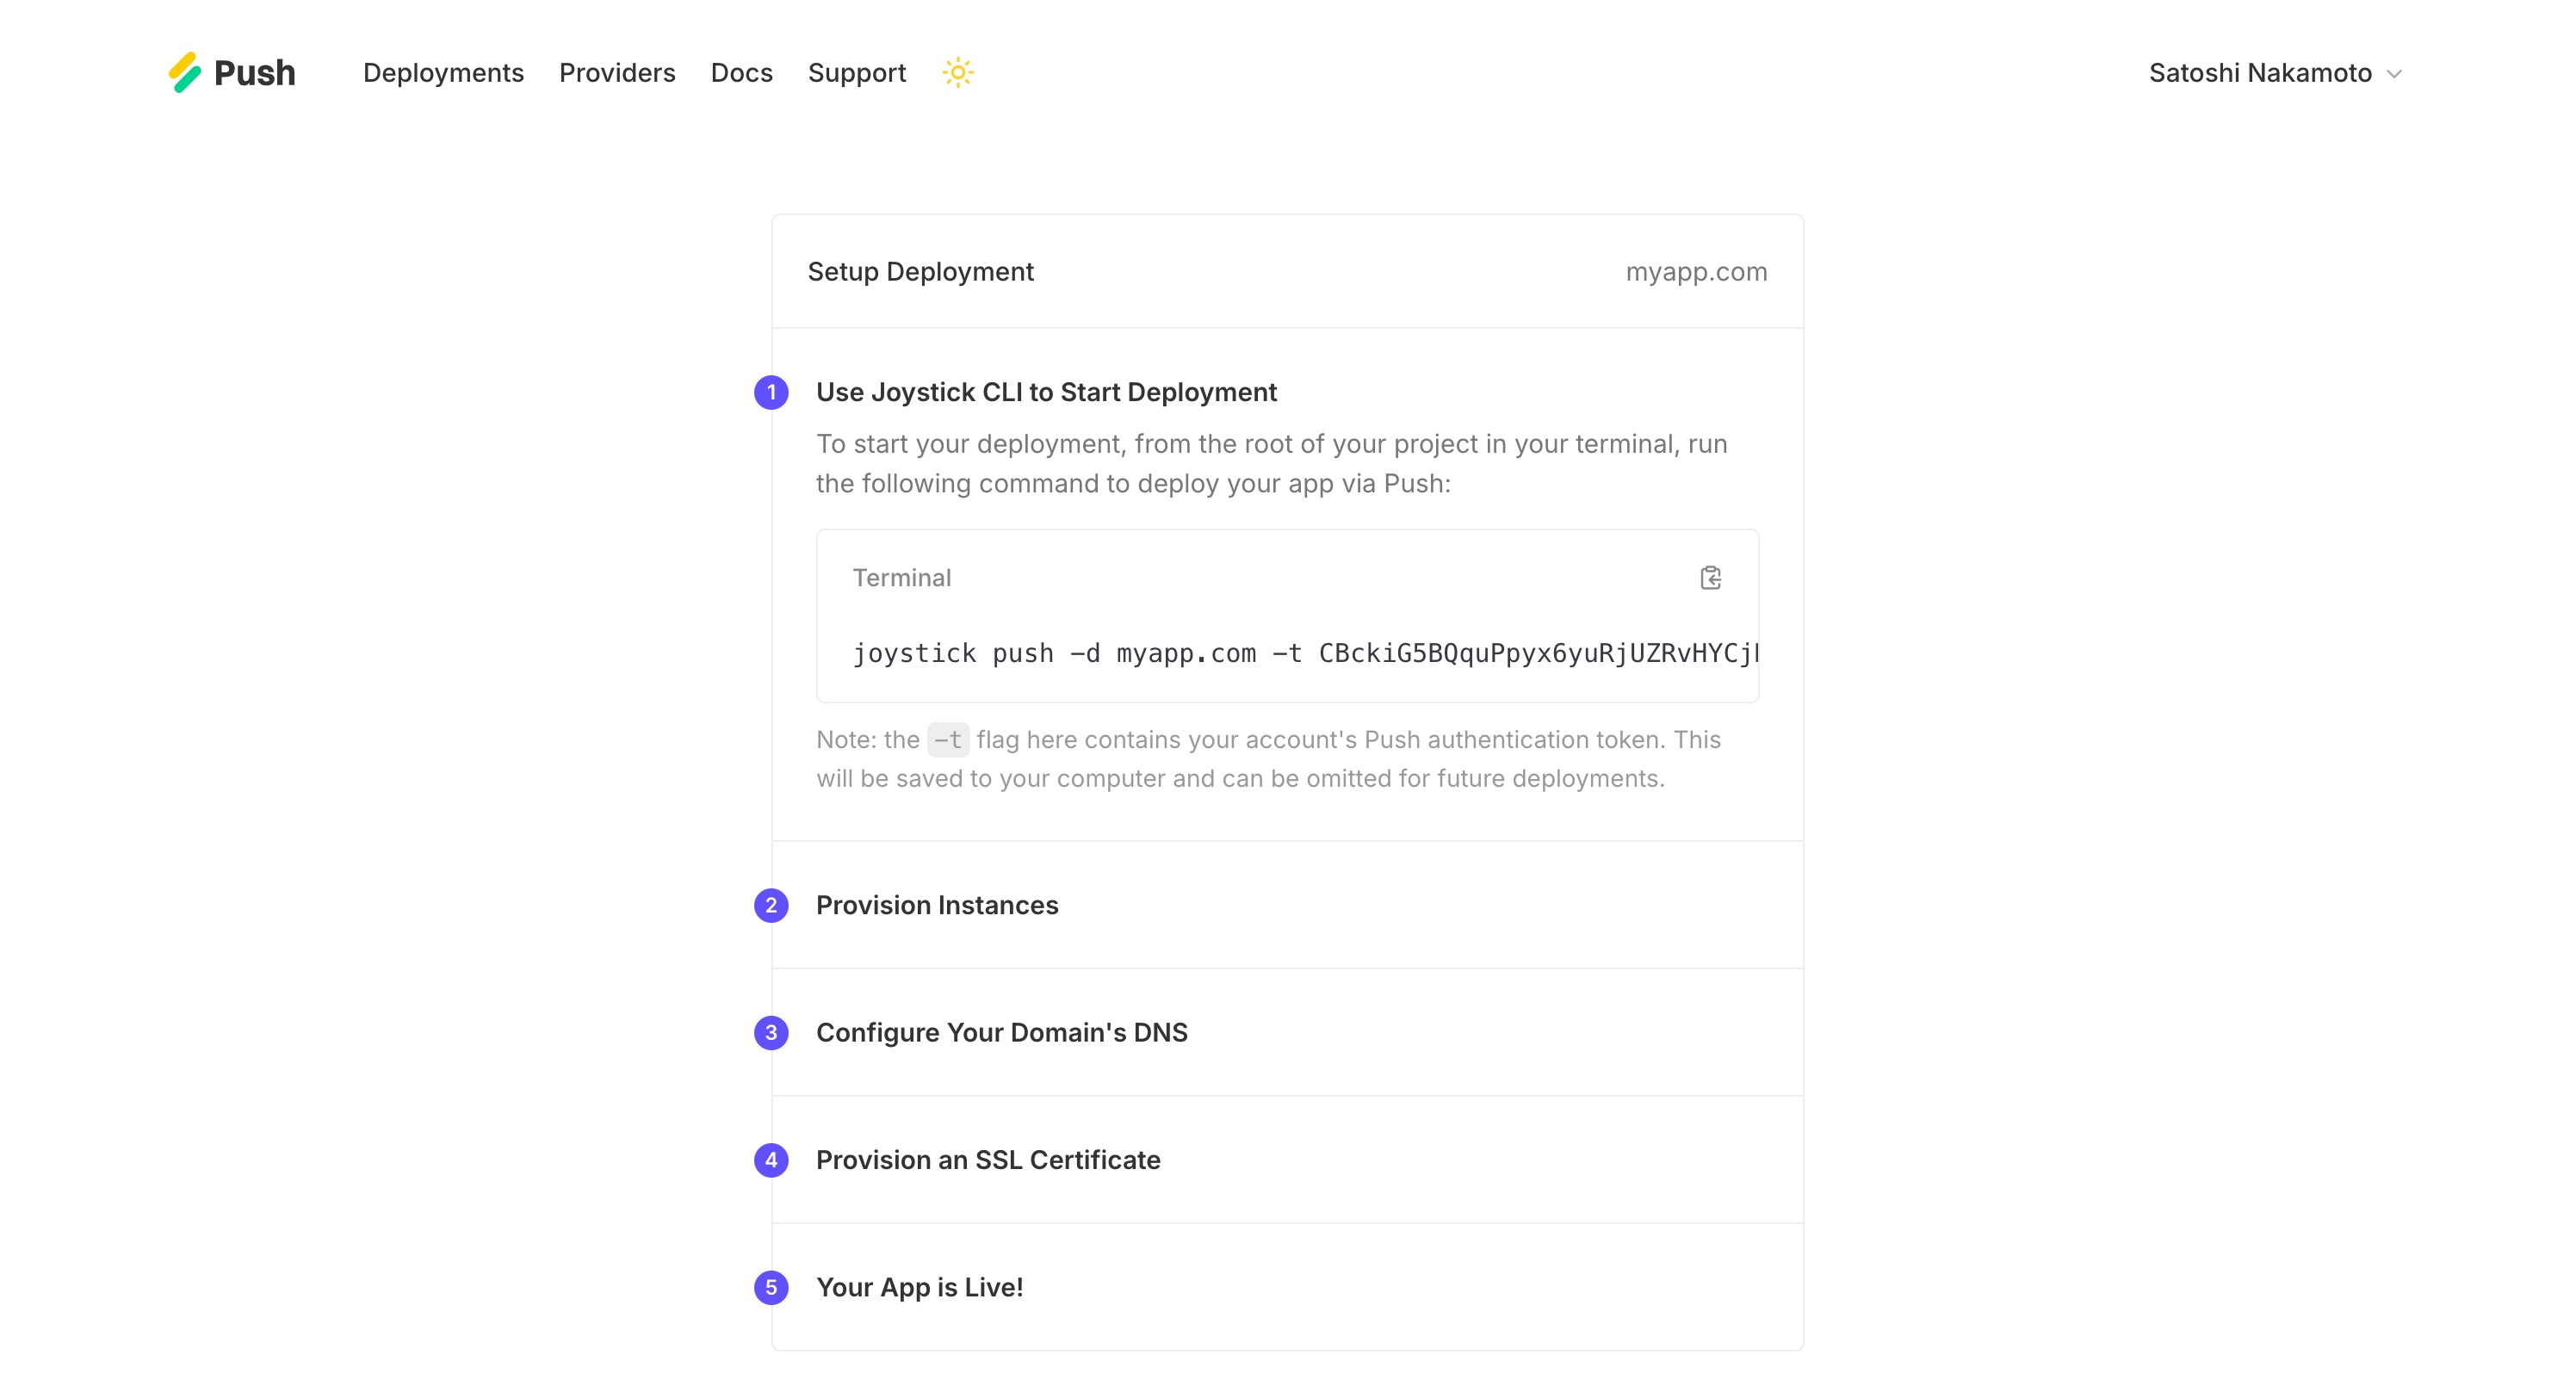
Following the instructions on that page, to kick off the provisioning of your instances, head back to your app's directory on your computer and run the provided command. The setup page will automatically update as it progresses through the provisioning, bootstrapping (installing dependencies for running your app), and versioning of your app.